Get Started with a Budget
On this page, you'll find step-by-step instructions on how to create a budget on Personal Finance
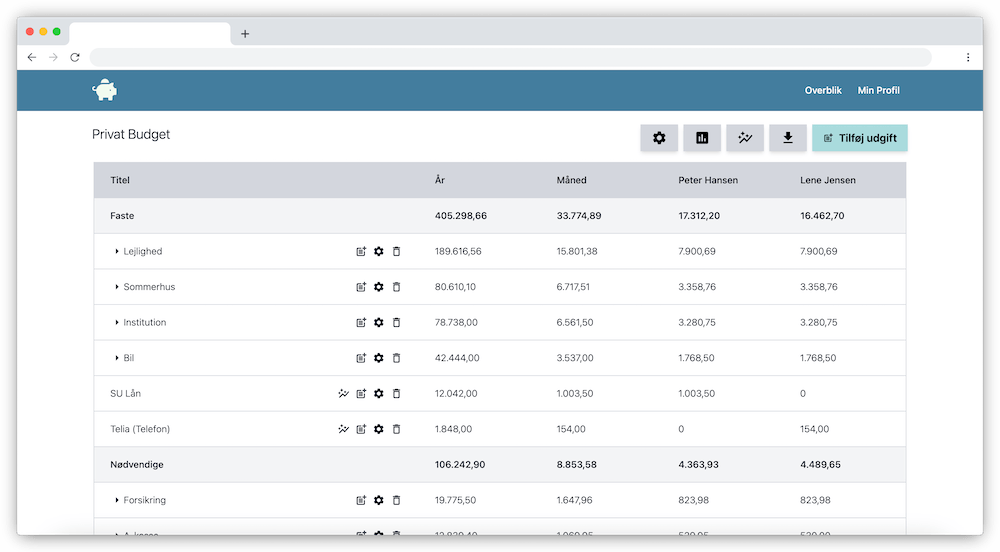
A budget is a plan that helps you manage your money. It outlines how much money you expect to earn and how you will allocate that money to cover various expenses. By creating a Budget, you can ensure that you don’t spend more than you earn, while also saving for future goals.
Why is it important to create a budget?
Creating a budget is essential for achieving financial stability. It allows you to:
Get a clear picture of your finances A budget clearly shows where your money goes each month.
Avoid Debt By planning your expenses, you can avoid living beyond your means.
Saving A budget can help you set aside money for major purchases, emergencies, or retirement.
Make Better Financial Decisions With a clear budget, you can better assess which financial decisions best align with your long-term goals.
Step-by-Step: How to Create a Budget
You can watch the video to see how to create a budget in Personal Finance, or follow the step-by-step instructions below.
Creating a budget doesn’t have to be complicated, and there are many ways to do it. Depending on how complex your finances are, you can easily use simple tools like Word or the slightly more sophisticated tool, Excel.
Personal Finance has made it easy, simple, and secure to create a budget, and provides you with customized budgeting tools that you won’t find when using, for example, Excel. By using Personal Finance for your budget, you’ll gain a better overview and insight into your finances.
Step 1: Create a User and Create a Budget
The first thing you need to do is create an account on Personal Finance. It’s easy, and as you can see in the video below, it only takes a few seconds.
To create a user, do the following:
- Click “Create User” in the menu at the top of the page
- Enter your email address in the field
- Wait for an email from Personal Finance
- Click the button in the email
You are now logged in and ready to create a Budget. To do so, click the “Create Budget” button in the upper-right corner.
Step 2: Add Expenses
You should now add all your recurring expenses to your Budget. Recurring expenses are those you pay on a regular basis, such as monthly, every other month, quarterly, semi-annually, or annually. These might include rent, which is typically paid monthly; mortgage payments, which are typically paid quarterly; or perhaps your children’s extracurricular activities, which might be paid semiannually.
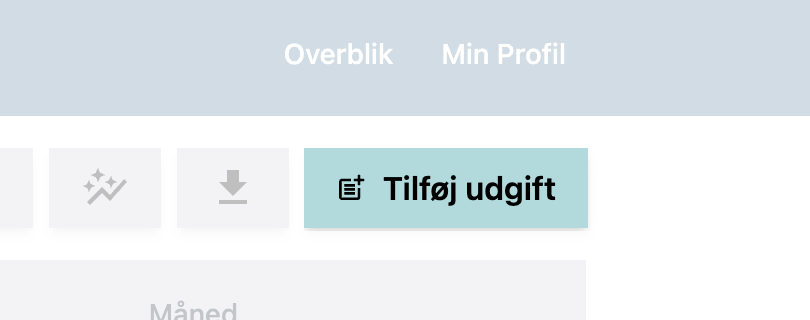
Tap the “Add Expense” button in the upper-right corner to add an expense
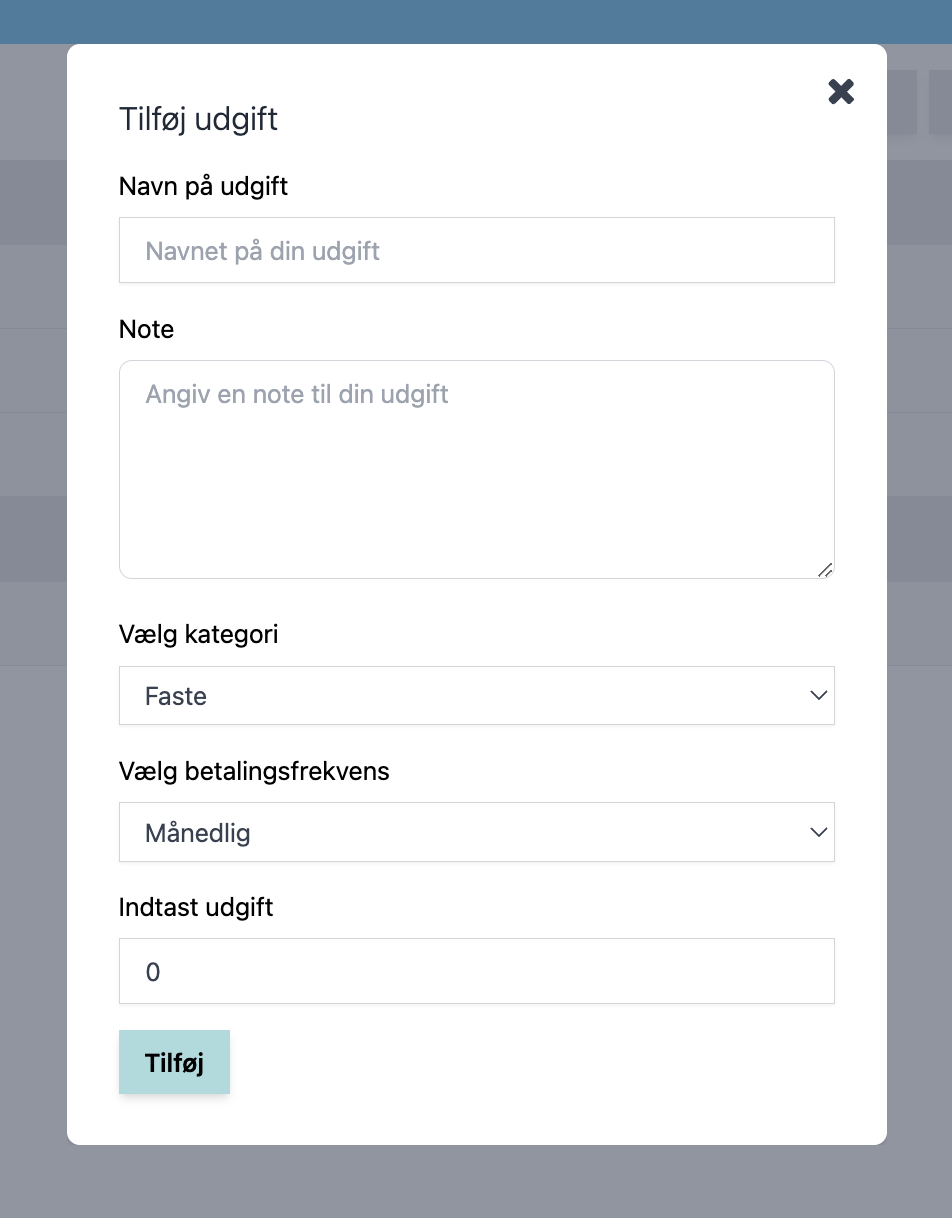
Enter a Name for your expense, such as Rent.
You can add a Note that will appear alongside your expense. For example, you can use the note to describe who you’re paying the expense to.
You need to select the Category that the expense falls under. See below for instructions on how to edit and add categories to your Budget.
Under Payment Frequency, specify how often you pay this expense. If this is an expense you do not pay every month, specify the months in which you pay it.
Finally, enter the amount of the expense.
Once you’ve filled in all the fields, click Add.
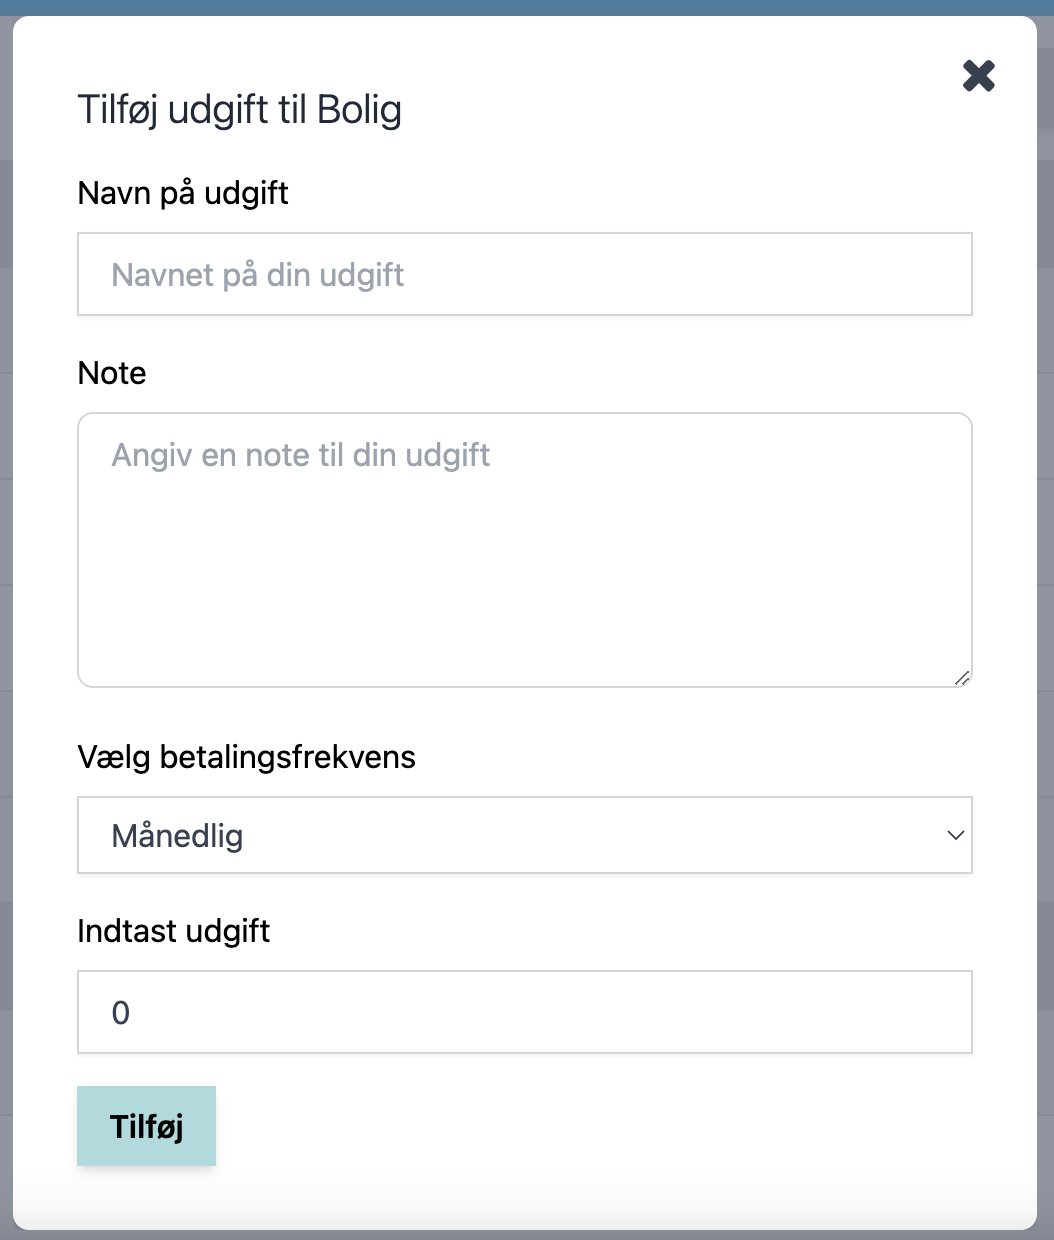
Step 3: Categorize and Group Expenses
Categorization
When you create a new budget, it starts with three categories: Fixed, Necessary, and Extra.
Fixed expenses are expenses you can’t do without, such as rent, food, and insurance.
Essential expenses are expenses you’d rather not do without, but if your finances get tight, you could reduce them or eliminate them entirely.
Extra expenses are things you have recurring costs for, but that you could easily do without. It’s typically in the “Extra expenses” category where you can optimize your finances.
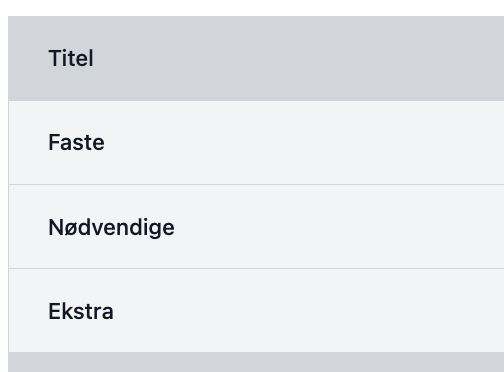
To edit existing categories or create new ones, tap the Settings icon (gear) at the top of the Budget.

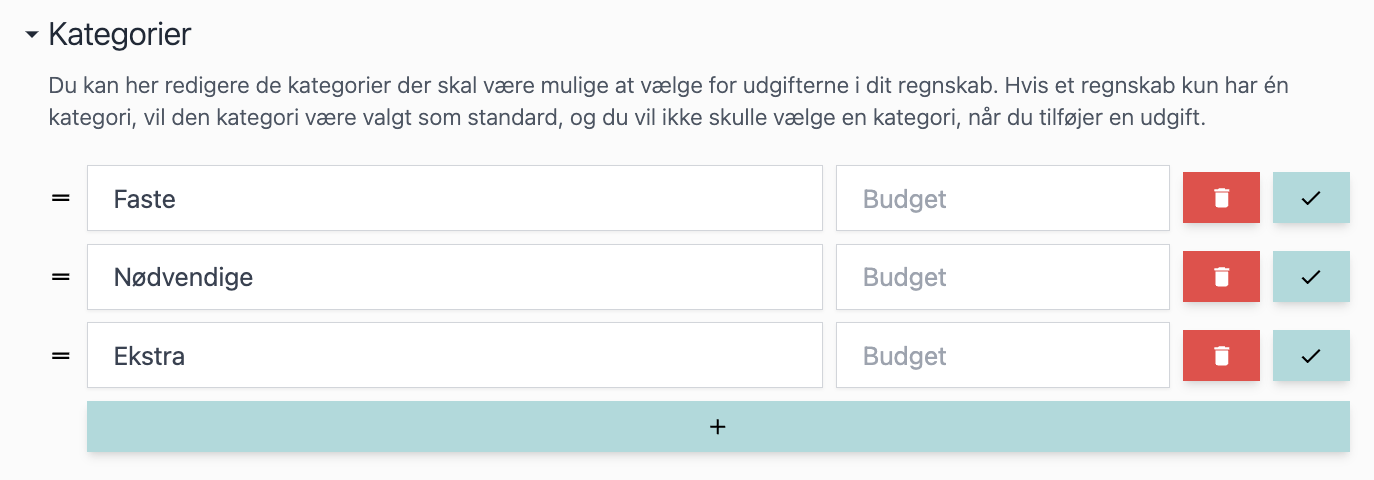
In the “Categories” section, you can edit the names of existing categories, delete them, or add new categories.
You can also sort the categories by dragging the handle to the left of the category name.
Grouping
To get a better overview of the expenses in your Budget, it’s a good idea to group together expenses that are related.
For example, this could include all expenses under “housing,” all insurance policies, or all subscriptions.

Start by creating the expense category that will serve as the group, such as “Housing.”
You can then create expenses under each expense. To do this, tap the “Create Expense” icon from the expense you just created.

Next, enter the information that applies to your expense. You have all the same options as when you create a regular expense.
Once you’ve added your new sub-expense, you’ll see that it appears under the other expense, and you’ve thus created a grouping.