Accounts
On this page, you can learn more about what accounts are and how you can use them to gain insight into your finances. You’ll also find an introduction to the features you’ll have access to when you set up an accounts account with Personal Finance.
Why Set Up Accounts
There can be many different reasons for setting up accounts, but typically it’s because you want to gain insight into your finances. Accounts can also be used to monitor your finances and ensure that you don’t end up overspending. Our accounts at Personal Finance can be used for many purposes, but we specialize in tracking day-to-day expenses, food costs, providing an overview of a project, or offering year-over-year insights.
On this page, you’ll find a description of how to set up accounts, as well as an overview of the features available when you set up accounts on Personal Finance. You can find more specific information about the different types of accounts in the menu at the top.
Step-by-Step: How to Set Up Accounts
Once you’re logged in to Personal Finance, it’s quick and easy to set up a new account.
Step 1: Create a new accounts account
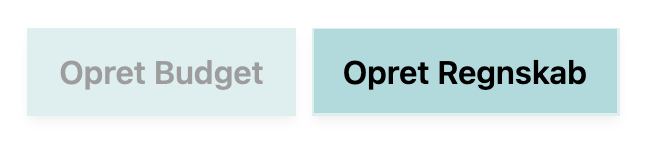
When you’re on “My Overview,” simply click the “Create Accounts” button in the upper-right corner.
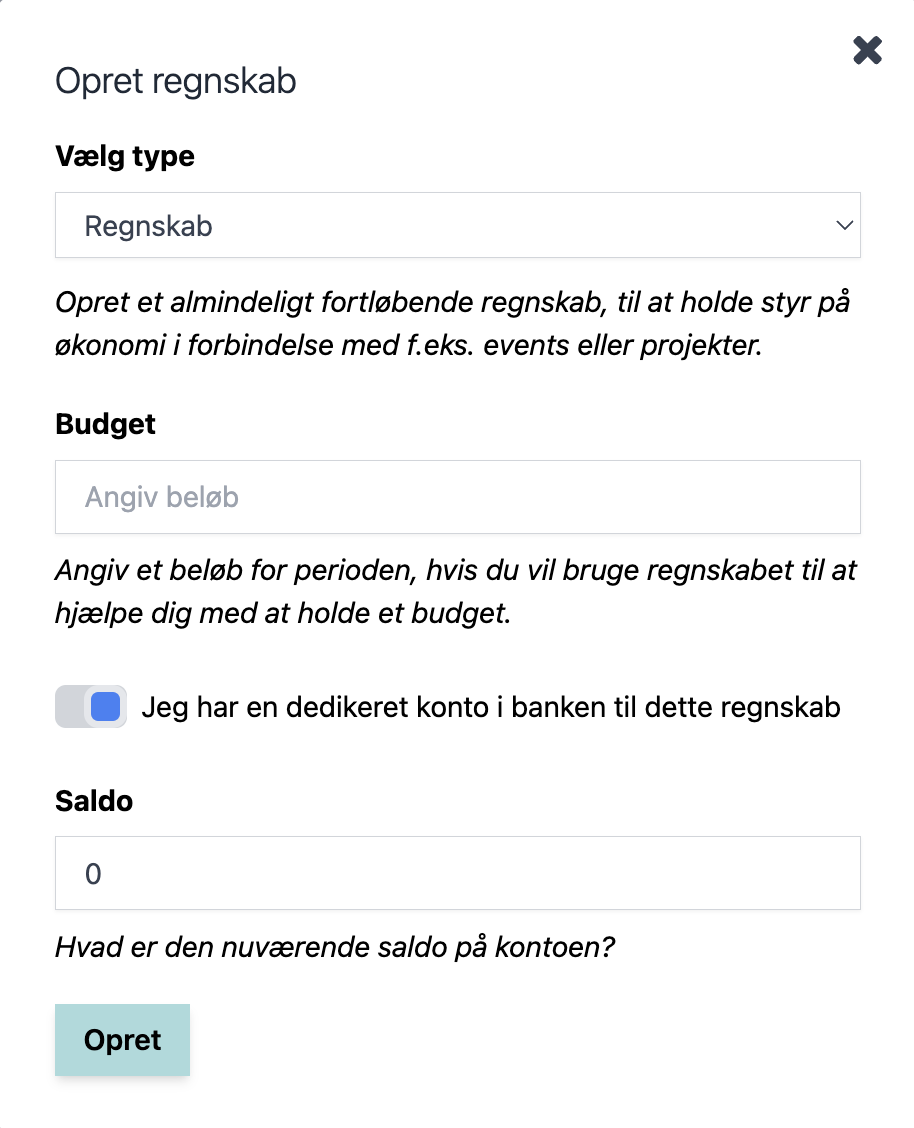
Next, please fill in the information requested in the pop-up window.
Start by selecting the type of accounts. There are four options (Accounts, Weekly Accounts, Monthly Accounts, and Annual Accounts). The type you select determines how the accounts are accrued.
Next, enter a budget for the accounts. If you select “Accounts” under “Type,” the budget is the total budget for the entire set of accounts. If you have selected “Accrual-Based Accounts” under “Type,” this is where you enter the budget for each individual period.
The next thing you need to decide is whether you have a dedicated account for accounts at your bank. If you do, you must also enter the current balance in that bank account.
Once you have entered the information, click the Create button.
You will then be taken to your new accounts system. It is completely empty at first, and you are now ready to enter transactions into the system. If you have chosen to use a dedicated account for accounts, you will see the balance you entered listed under “Current Balance.”

Step 2: Add entries
Accounts aren’t much without journal entries. Fortunately, it’s quick and easy to add journal entries.
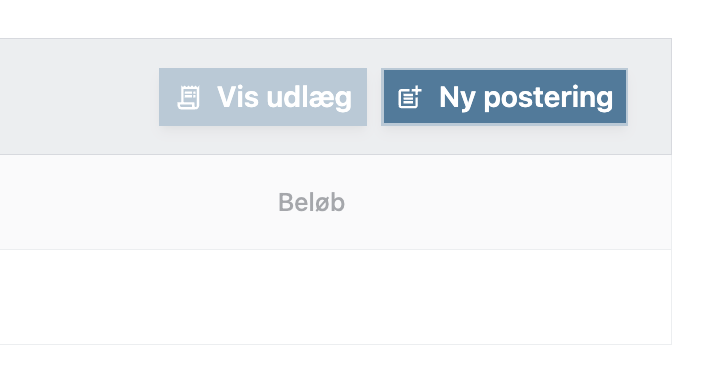
To create a new entry, tap “New Entry” under the time period to which you’d like to add an entry.
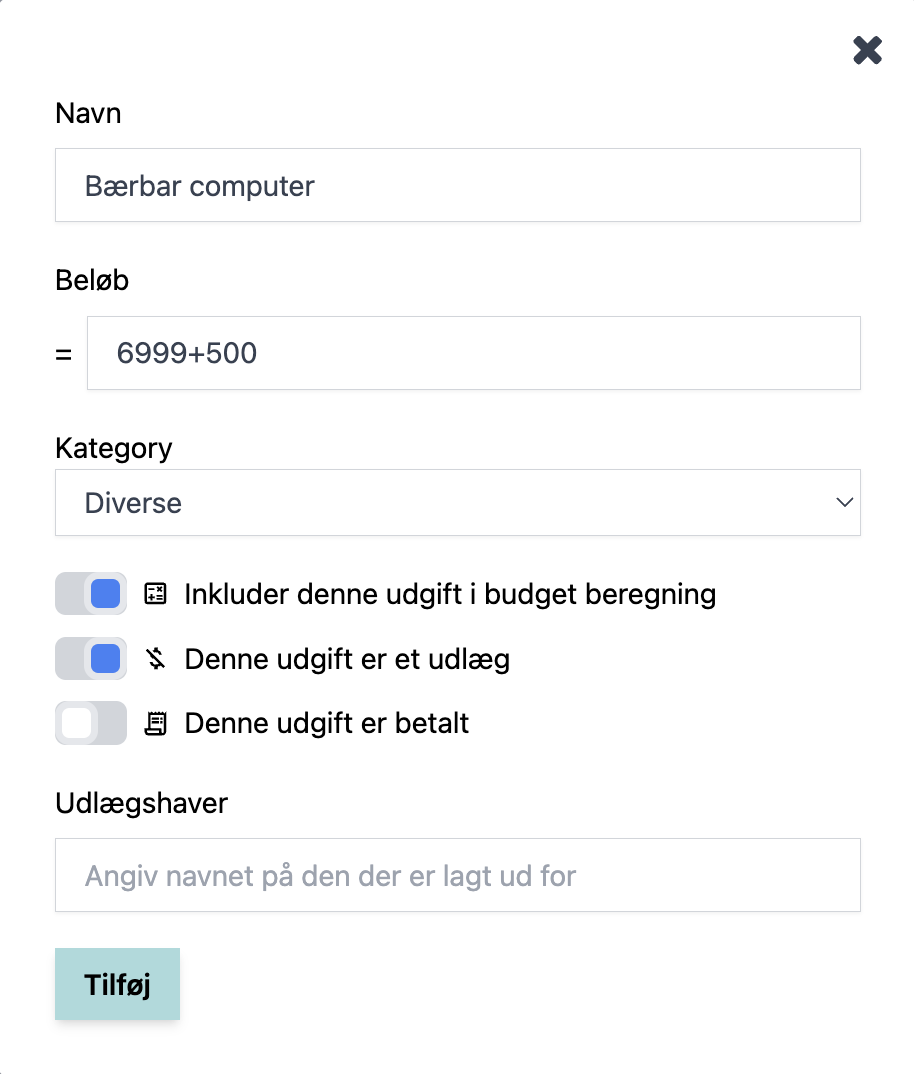
The first thing you need to enter is a name for your entry.
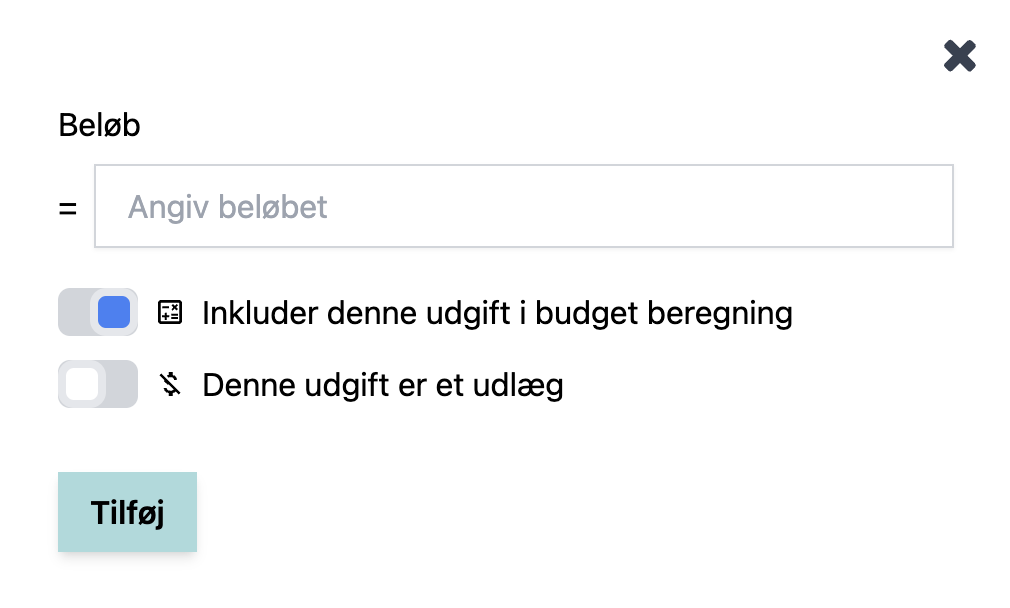
Next, enter the amount for the entry. The amount can be either positive or negative. If money has been deposited into the account, you must create a negative entry. To do this, place a - in front of the amount.
Next, select a category. You can read about how to add and edit categories in your Accounts records further down.
Once you’ve filled in all the fields, tap Add.
A Note on Forms
There is an equals sign (=) in front of the amount. This means that the field is a formula, and you can use simple mathematical operations here, such as addition and subtraction. When you do so, the system will automatically calculate the result and display it in your Accounts.
A Note on Expenses
If the entry is an advance payment you made on behalf of someone else, and you are reimbursed at a later date, you can choose to mark the expense as an advance payment. If you do so, you must specify who the advance recipient is—that is, the person on whose behalf you made the advance. You can also indicate whether the advance has been reimbursed. You can read more about advances in your Accounts section further down the page.

You will now see that the entry has been added to your accounts for the period you selected. You will also see that the Current Balance has been adjusted to reflect the amount you entered. If you have selected a budget for the accounts, you will also see that the balance sheet has been updated. In the example above, the accounts were created with a budget of 5,000 DKK, which means that with the new entry, the balance is negative and is therefore highlighted in red.
That was basically it. There isn’t much more to using the accounting system. However, there are many more features, which will be described in the following sections.
Categorization
In your accounts, you’ll often need to be able to categorize your entries. This provides a better overview, and by actively using categorization, you’ll also gain even more insight into your spending for accounts purposes.
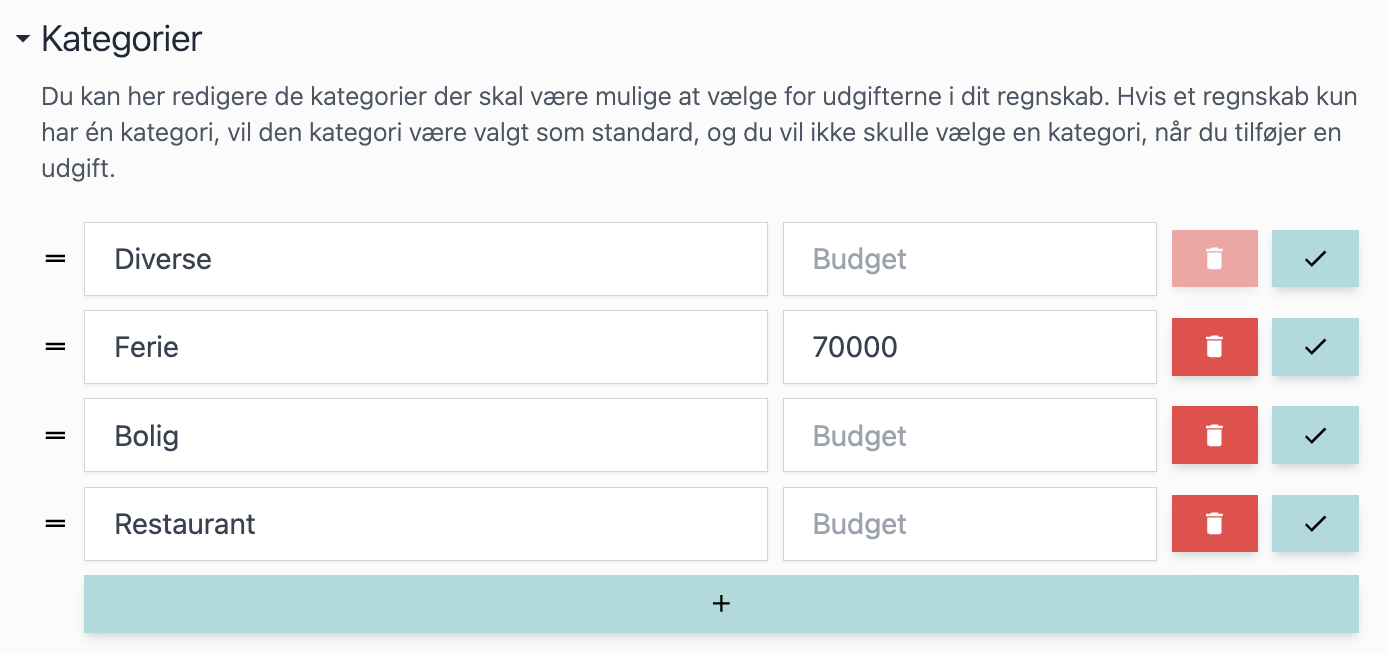
Start by adding new categories. Go to the Accounts settings and open the Categories section.
Under “Categories,” you can edit the names and Budgets of existing categories. You can also add new categories by tapping the plus button. You can also delete categories.
You can now select any of the categories you’ve added when you create a new entry.
When your accounts have more than one category, you’ll be able to view a bar chart showing spending in each category. You’ll find the bar chart below all the entries for each period.

This provides a good overview of your spending for each period. Note that the “Miscellaneous” category is highlighted in red because the budget of 5,000 DKK for that category has been exceeded.
Grouping Entries into Categories
There are two ways to view accounts. By default, all entries are displayed in a list view, but you can also choose to view the entries grouped by category instead.
List View

Category View

In the category view, if you’ve added a Budget for the category, you can see the Budget and the balance for that category. For all categories, you can see the total spending for the period.
It’s easy to switch between list view and category view. Just tap the icon at the top of the page.
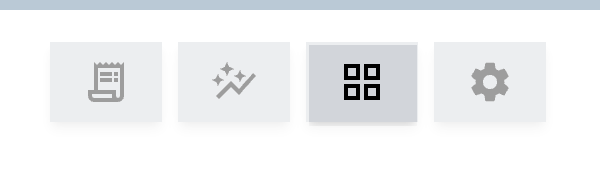
Once you’ve enabled category view, you can also add entries directly to individual categories. To do this, simply tap the “Add Entry” icon next to the category you want to add an entry to.

When you add entries directly to a category, you don’t need to enter the name or select the category. This makes it faster to add entries to individual categories.
When you create an entry this way, the name will automatically be the date and time you added the entry. You can always change the name by editing the entry once it has been created.
Handling of Advance Payments
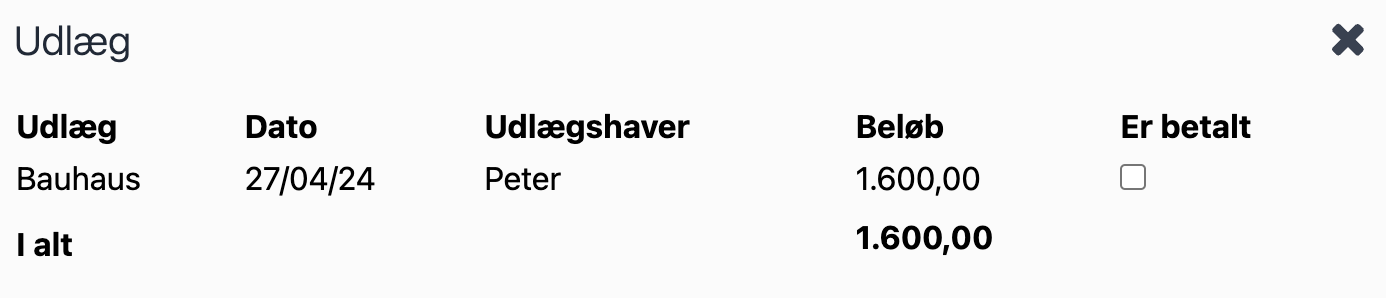
It’s easy to get an overview of your expense reimbursements in your Accounts. When one or more entries are marked as expenses, the person responsible for the expense will be displayed in red to the right of their name. In the example below, you can see that an expense has been created for Peter.

You can always view a summary of all expenses for a specific period and for the entire set of accounts.
To view all expenses for a single period, tap the “View Expenses” button.
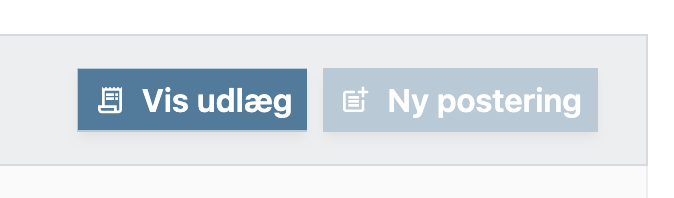
If you’d like to see all expenses listed in the entire set of accounts, you can tap the expense icon in the upper-right corner. Please note that this view only shows expenses that haven’t been paid.
The overview shows all expense reports for the period or for the entire year of accounts. You can see the date they were created, who submitted them, the amount, and you can mark the expense report as paid.
Financial Performance
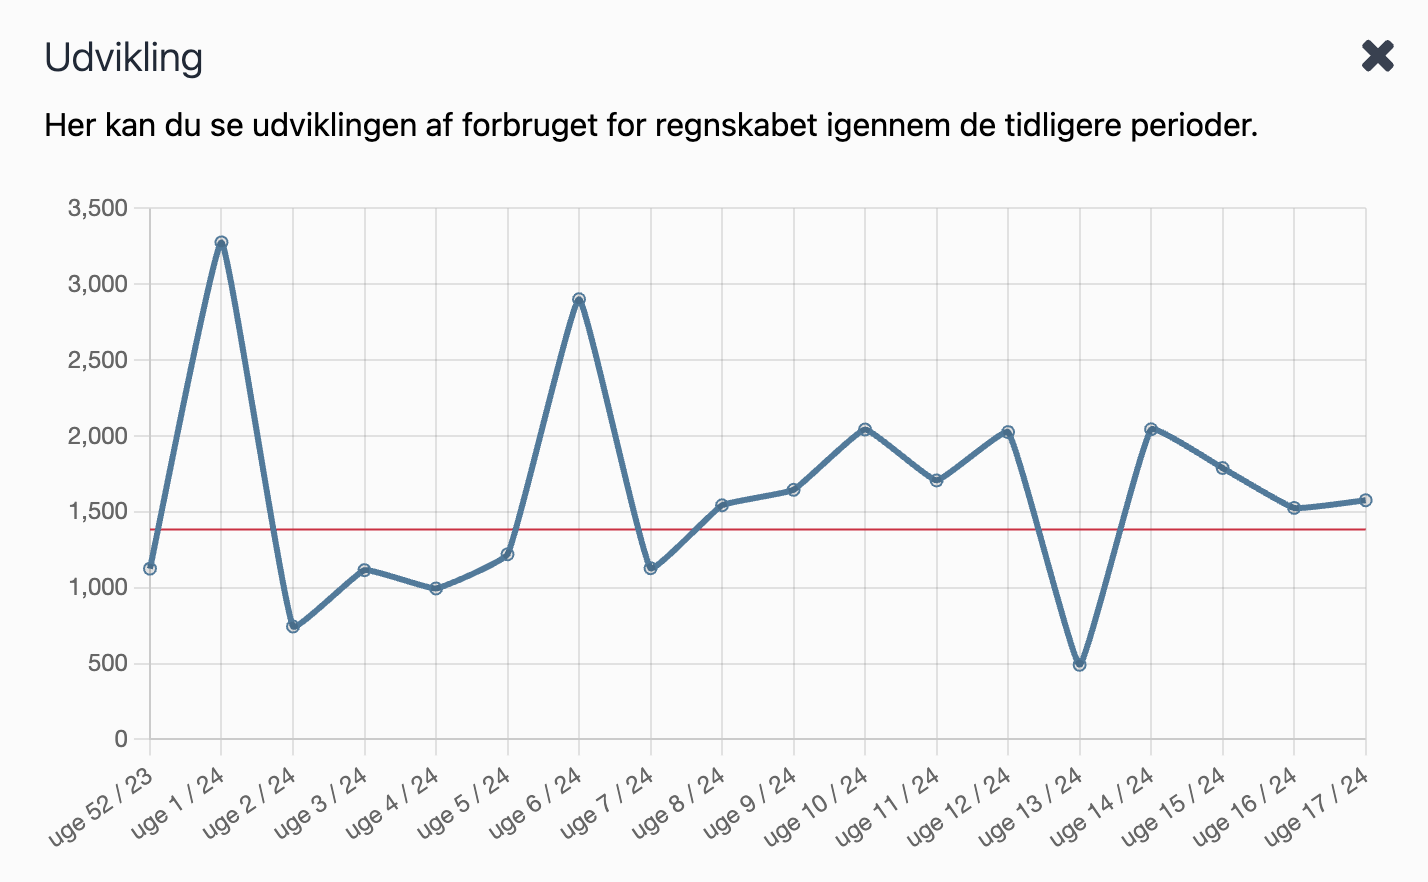
For accounts organized by period (weekly, monthly, annual), it can be helpful to track how expenses have changed over time. You can do this by reviewing the trends in the accounts.
Select the “Financial Performance” icon in the top menu.

Here, you can now view your spending for the accounts year across the different periods. If you’ve set a budget for the accounts year, it will be shown as a red line. This allows you to quickly see whether you’re generally spending more or less than the expected budget.
Sharing Accounts
Just as it can be a good idea to share a budget, it can also be helpful to share accounts. For example, if it’s a food expense tracker, it can be helpful for both of you to have access to the accounts.
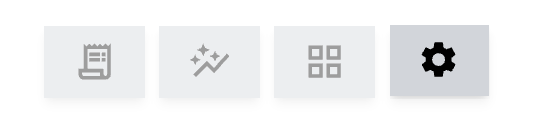
Start by opening the accounts settings by tapping the gear icon.
Next, go to the “Sharing” section, enter the email address of the person you want to share the accounts with, and tap “Invite.”
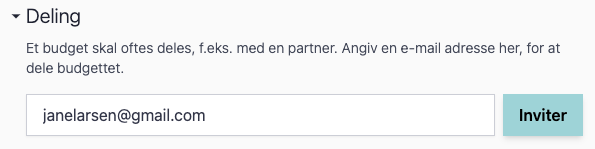
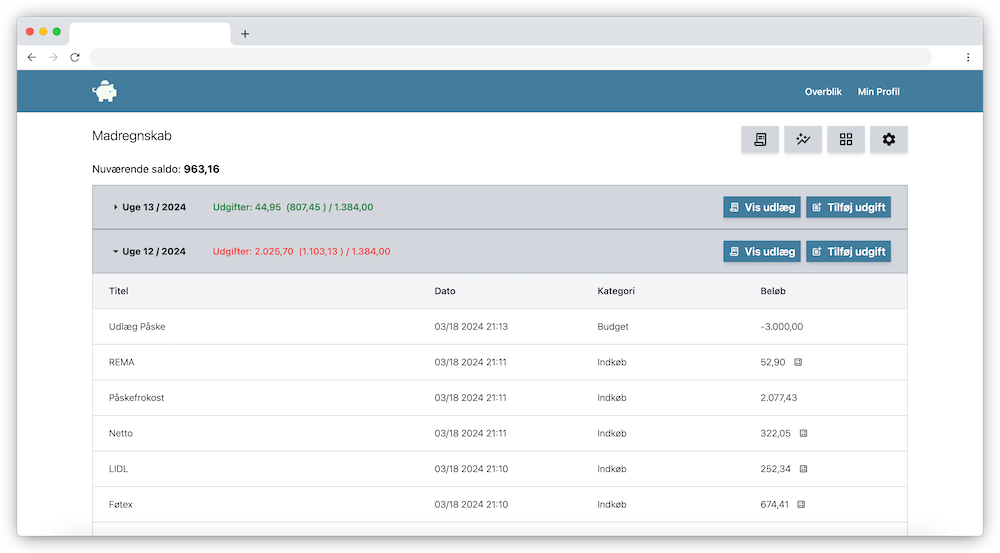
The person will now receive an email from Personal Finance. In that email, the person you invited simply needs to click “Accept Invitation.”
An account will now be created for the person on Personal Finance, and they will have access to their Accounts.